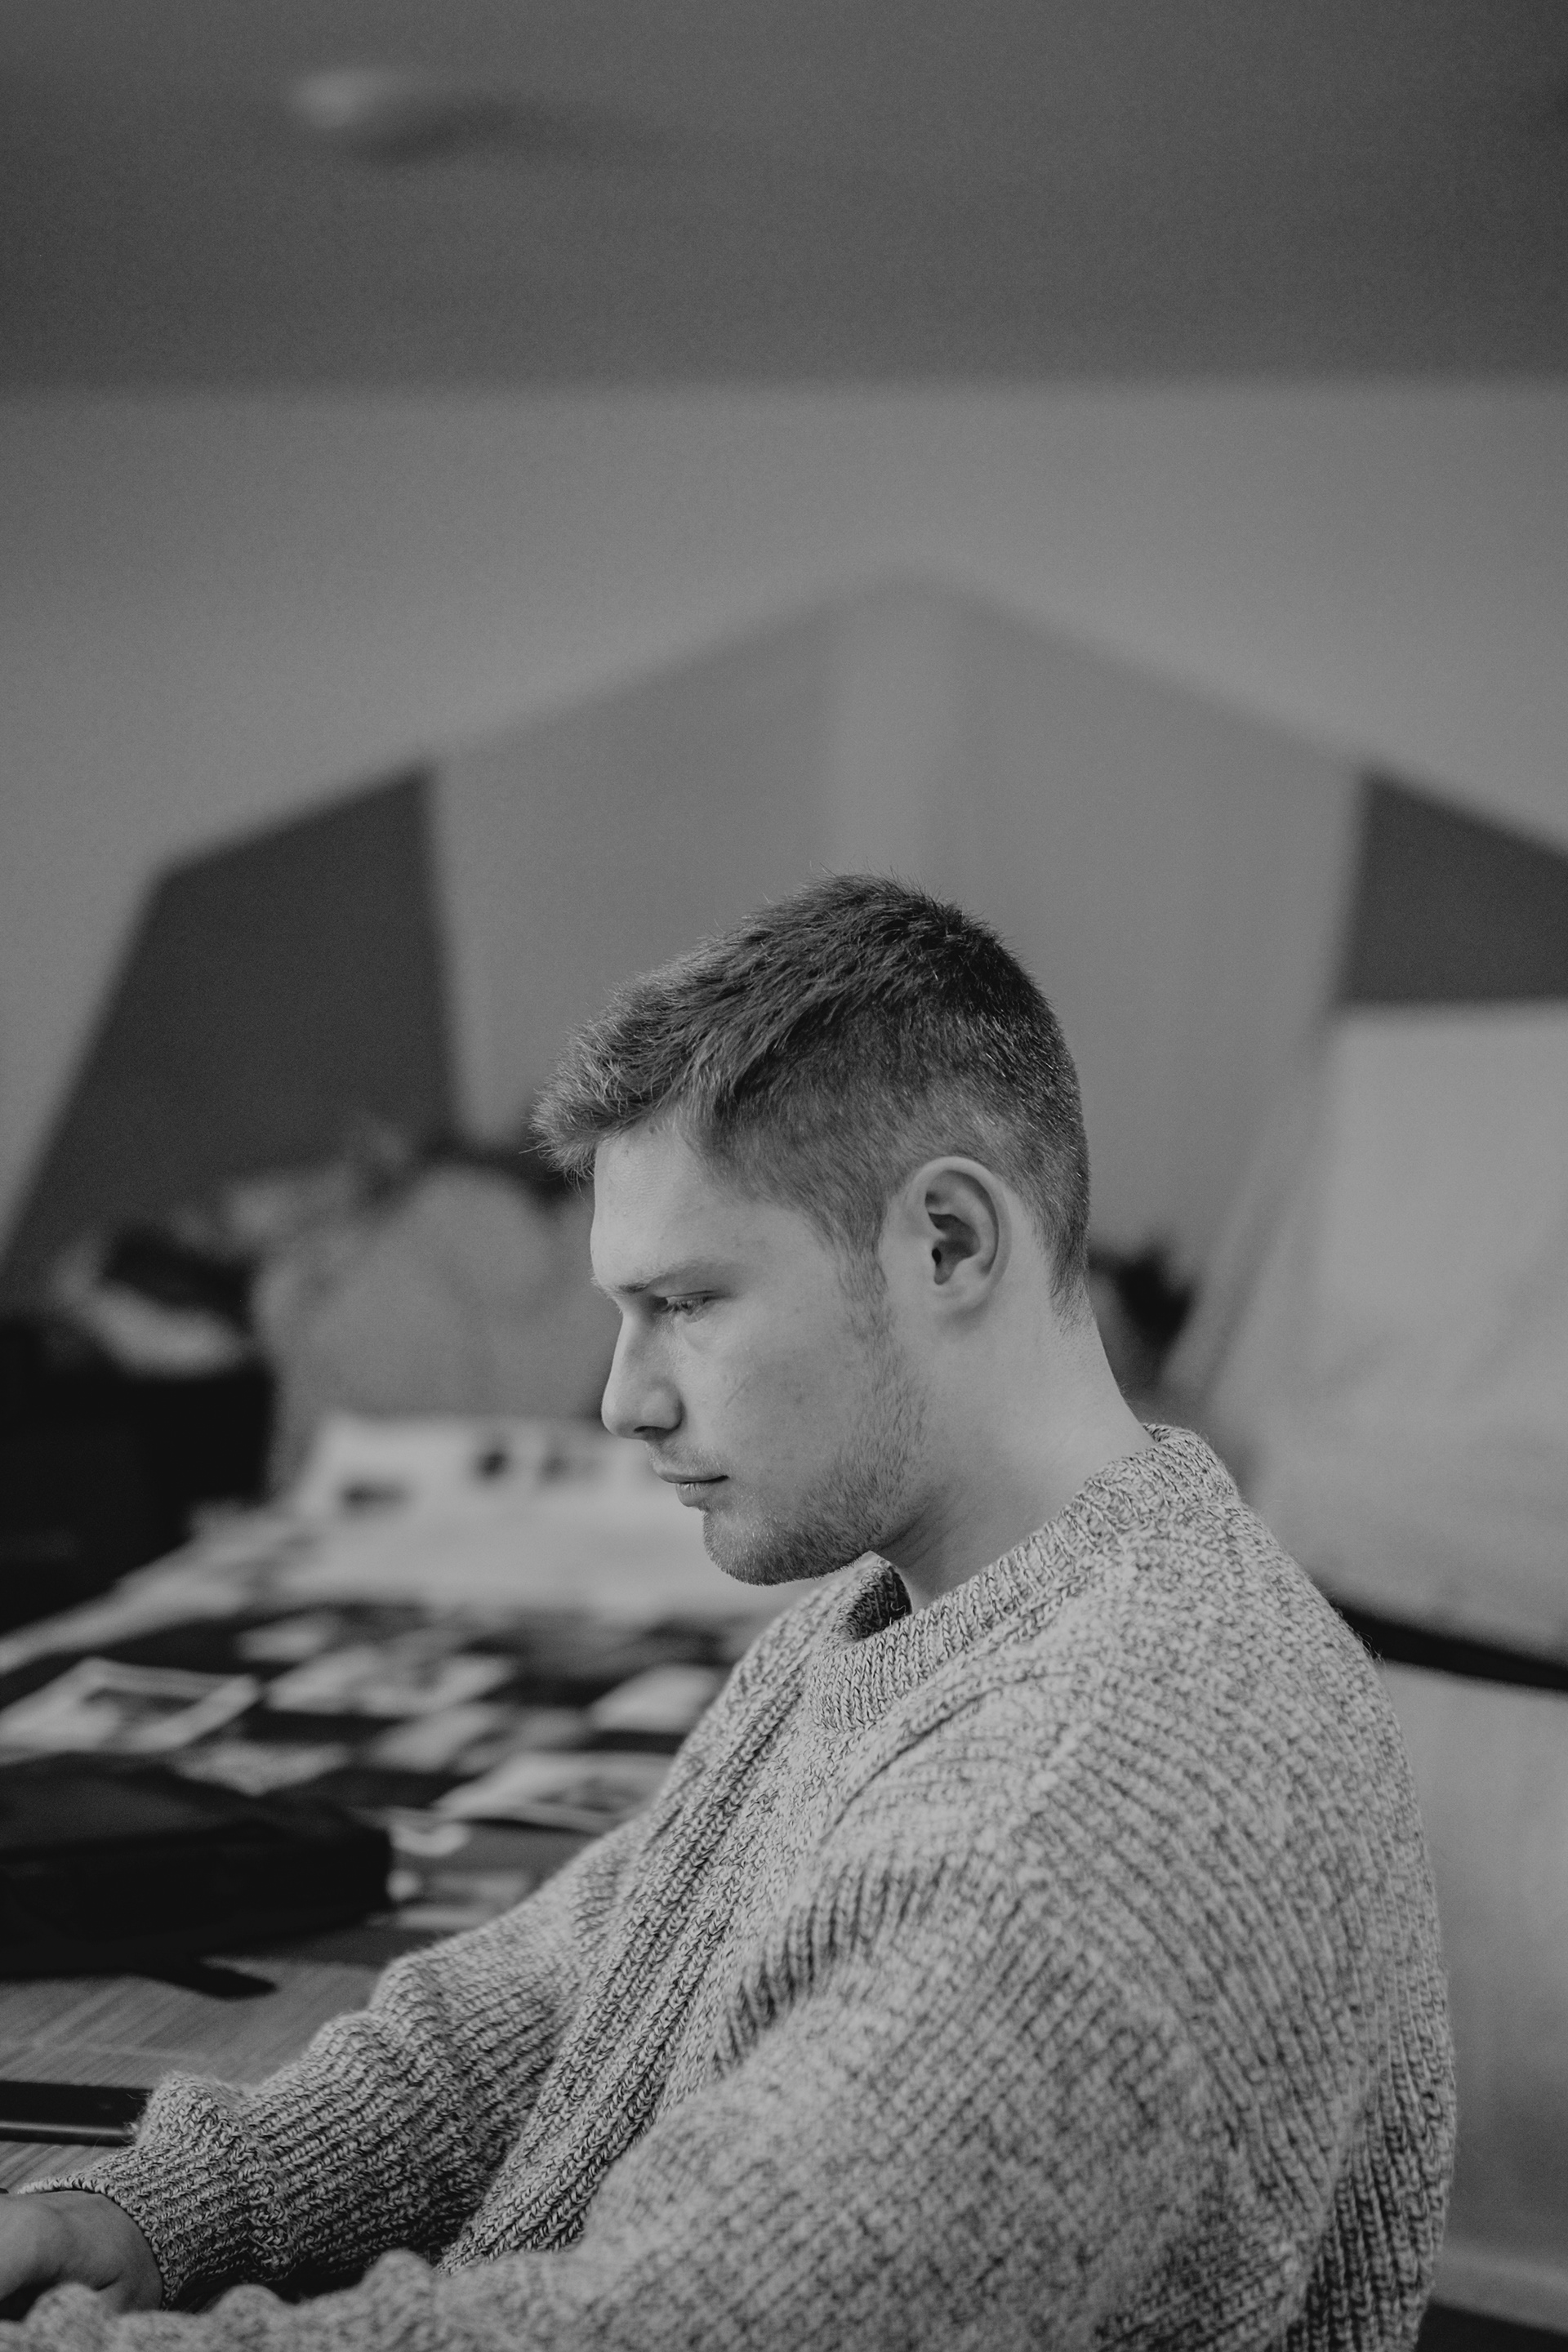
In our scouting group we decided to print our own shirts in order to save money, aquire new skills and having a new fun activity together.
Here is a step by step description of what we did:

Step 1: The desing is created
Thanks to a friend our design was created. @Alina drew 5 different designs , every one more beautiful than the other ones.
We digitzed the drawings and decided for one of them to use for our final desing and printed it out onto a transparent acetate film.
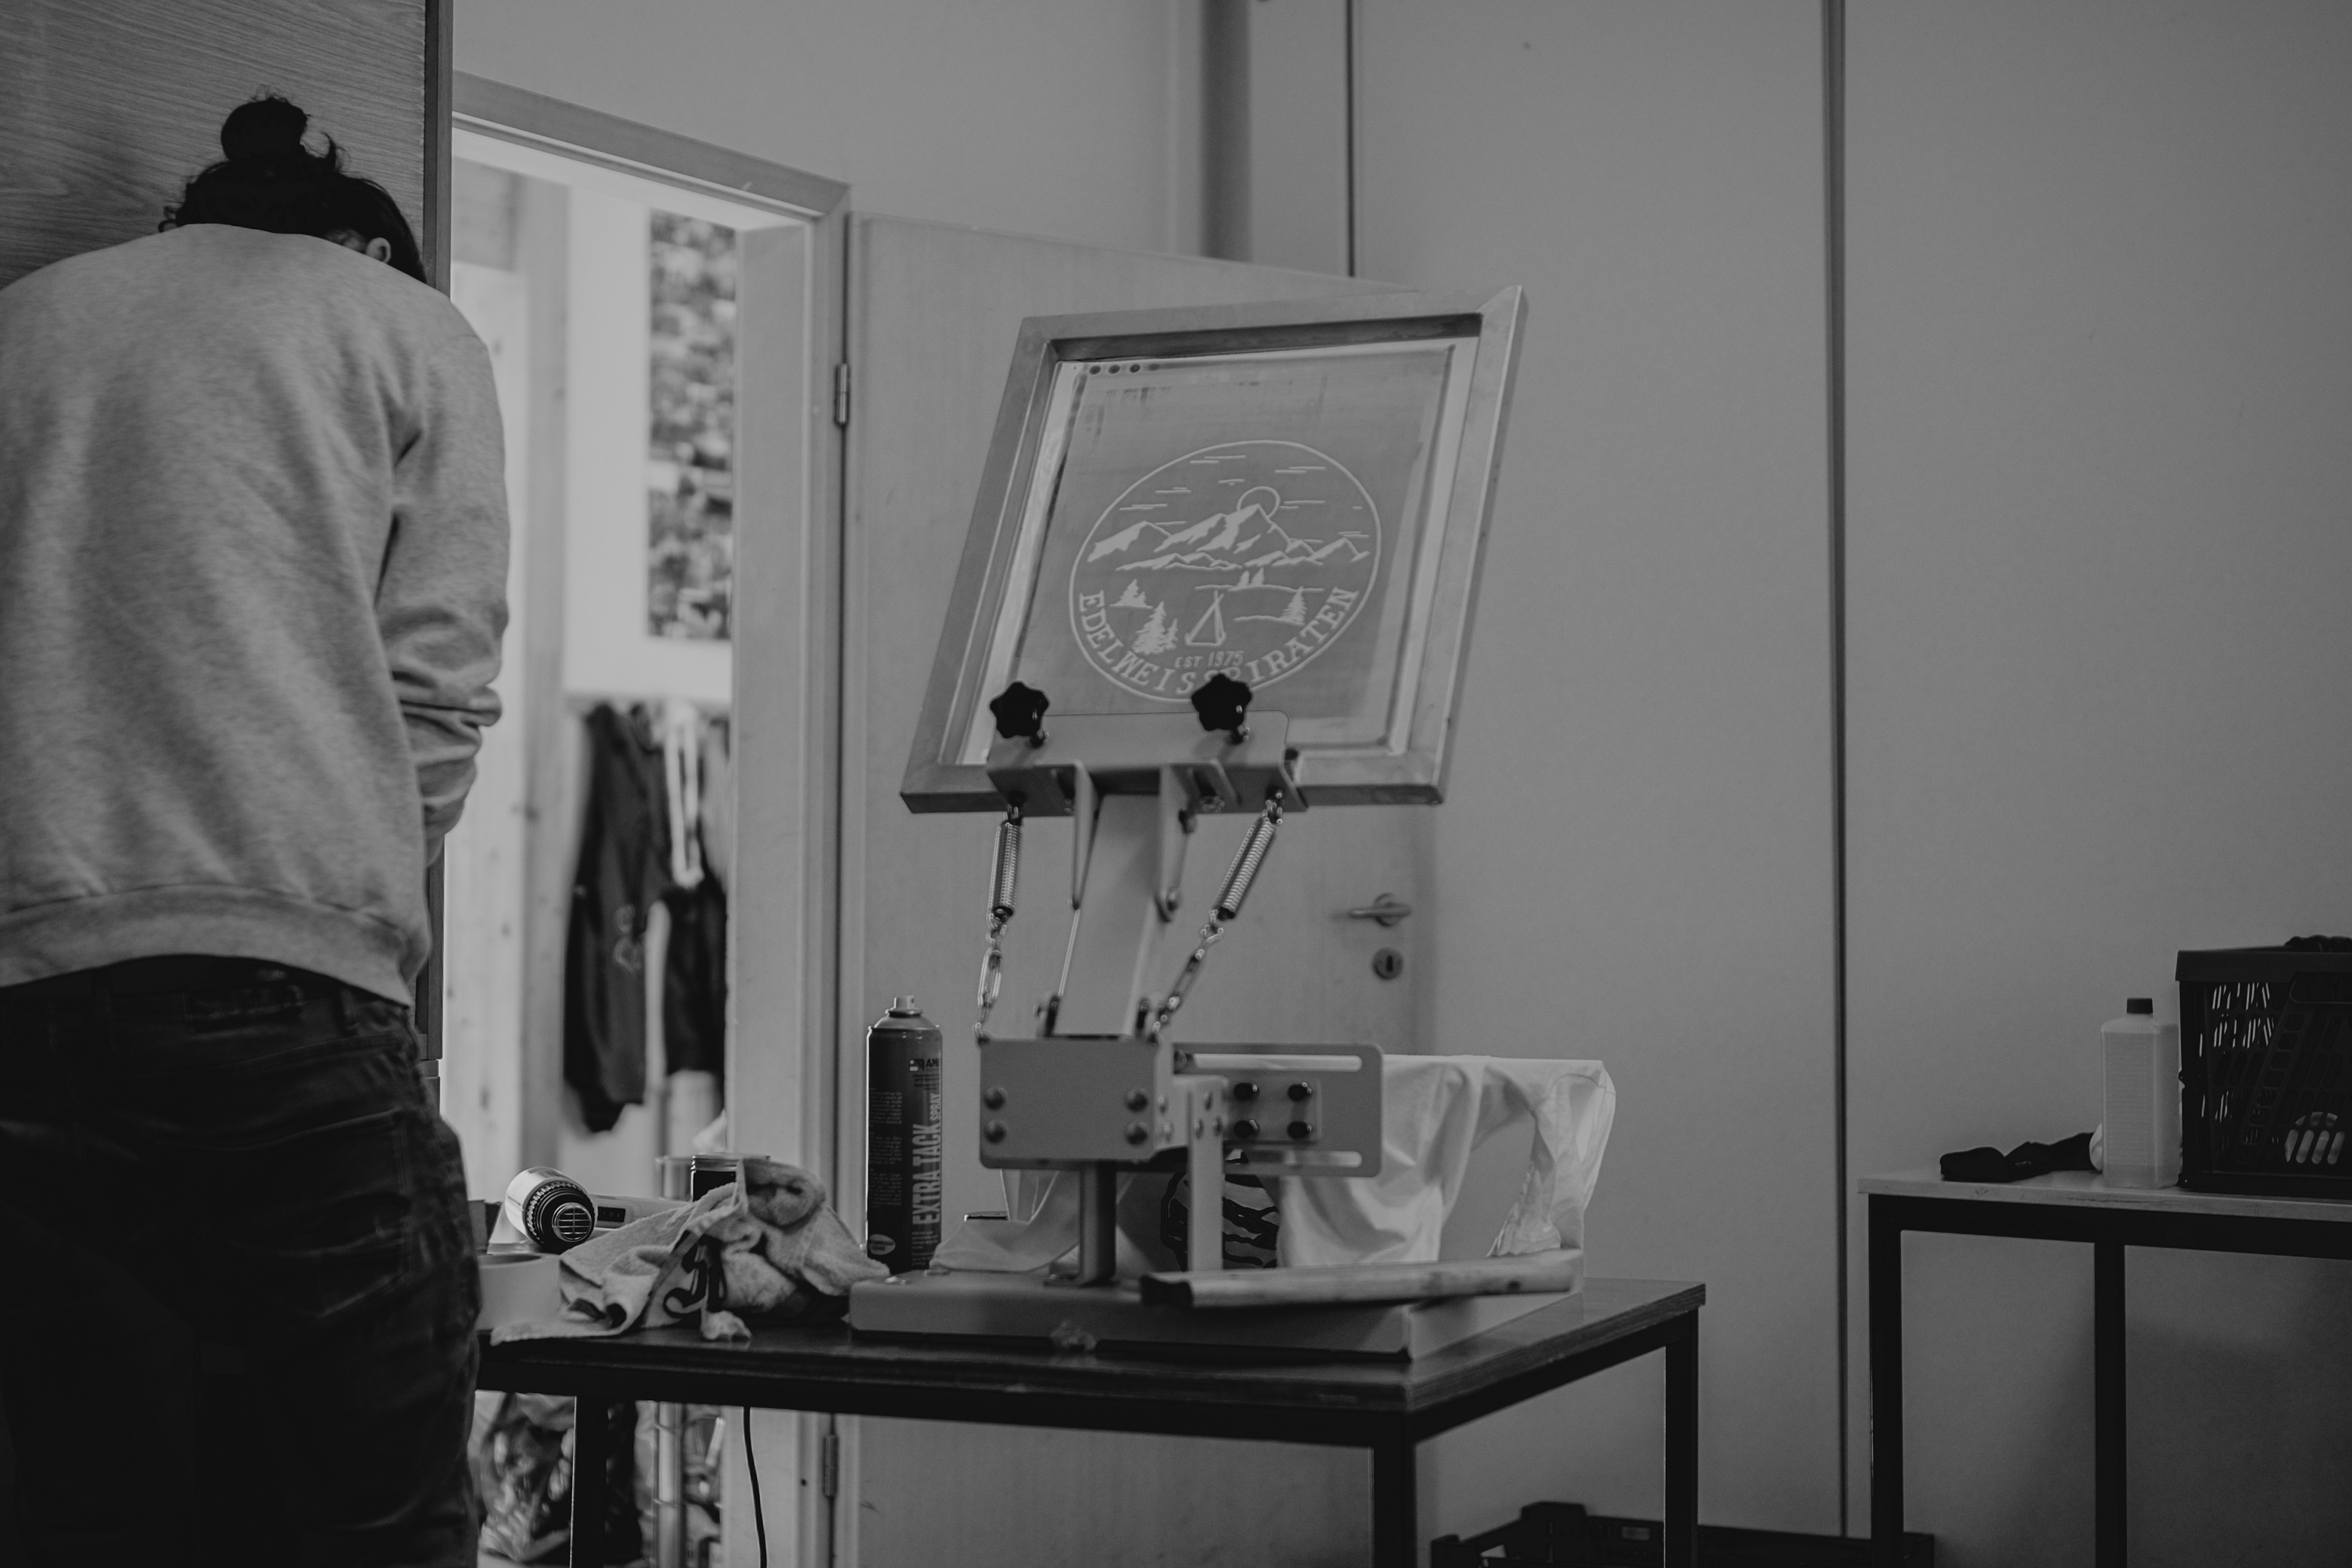
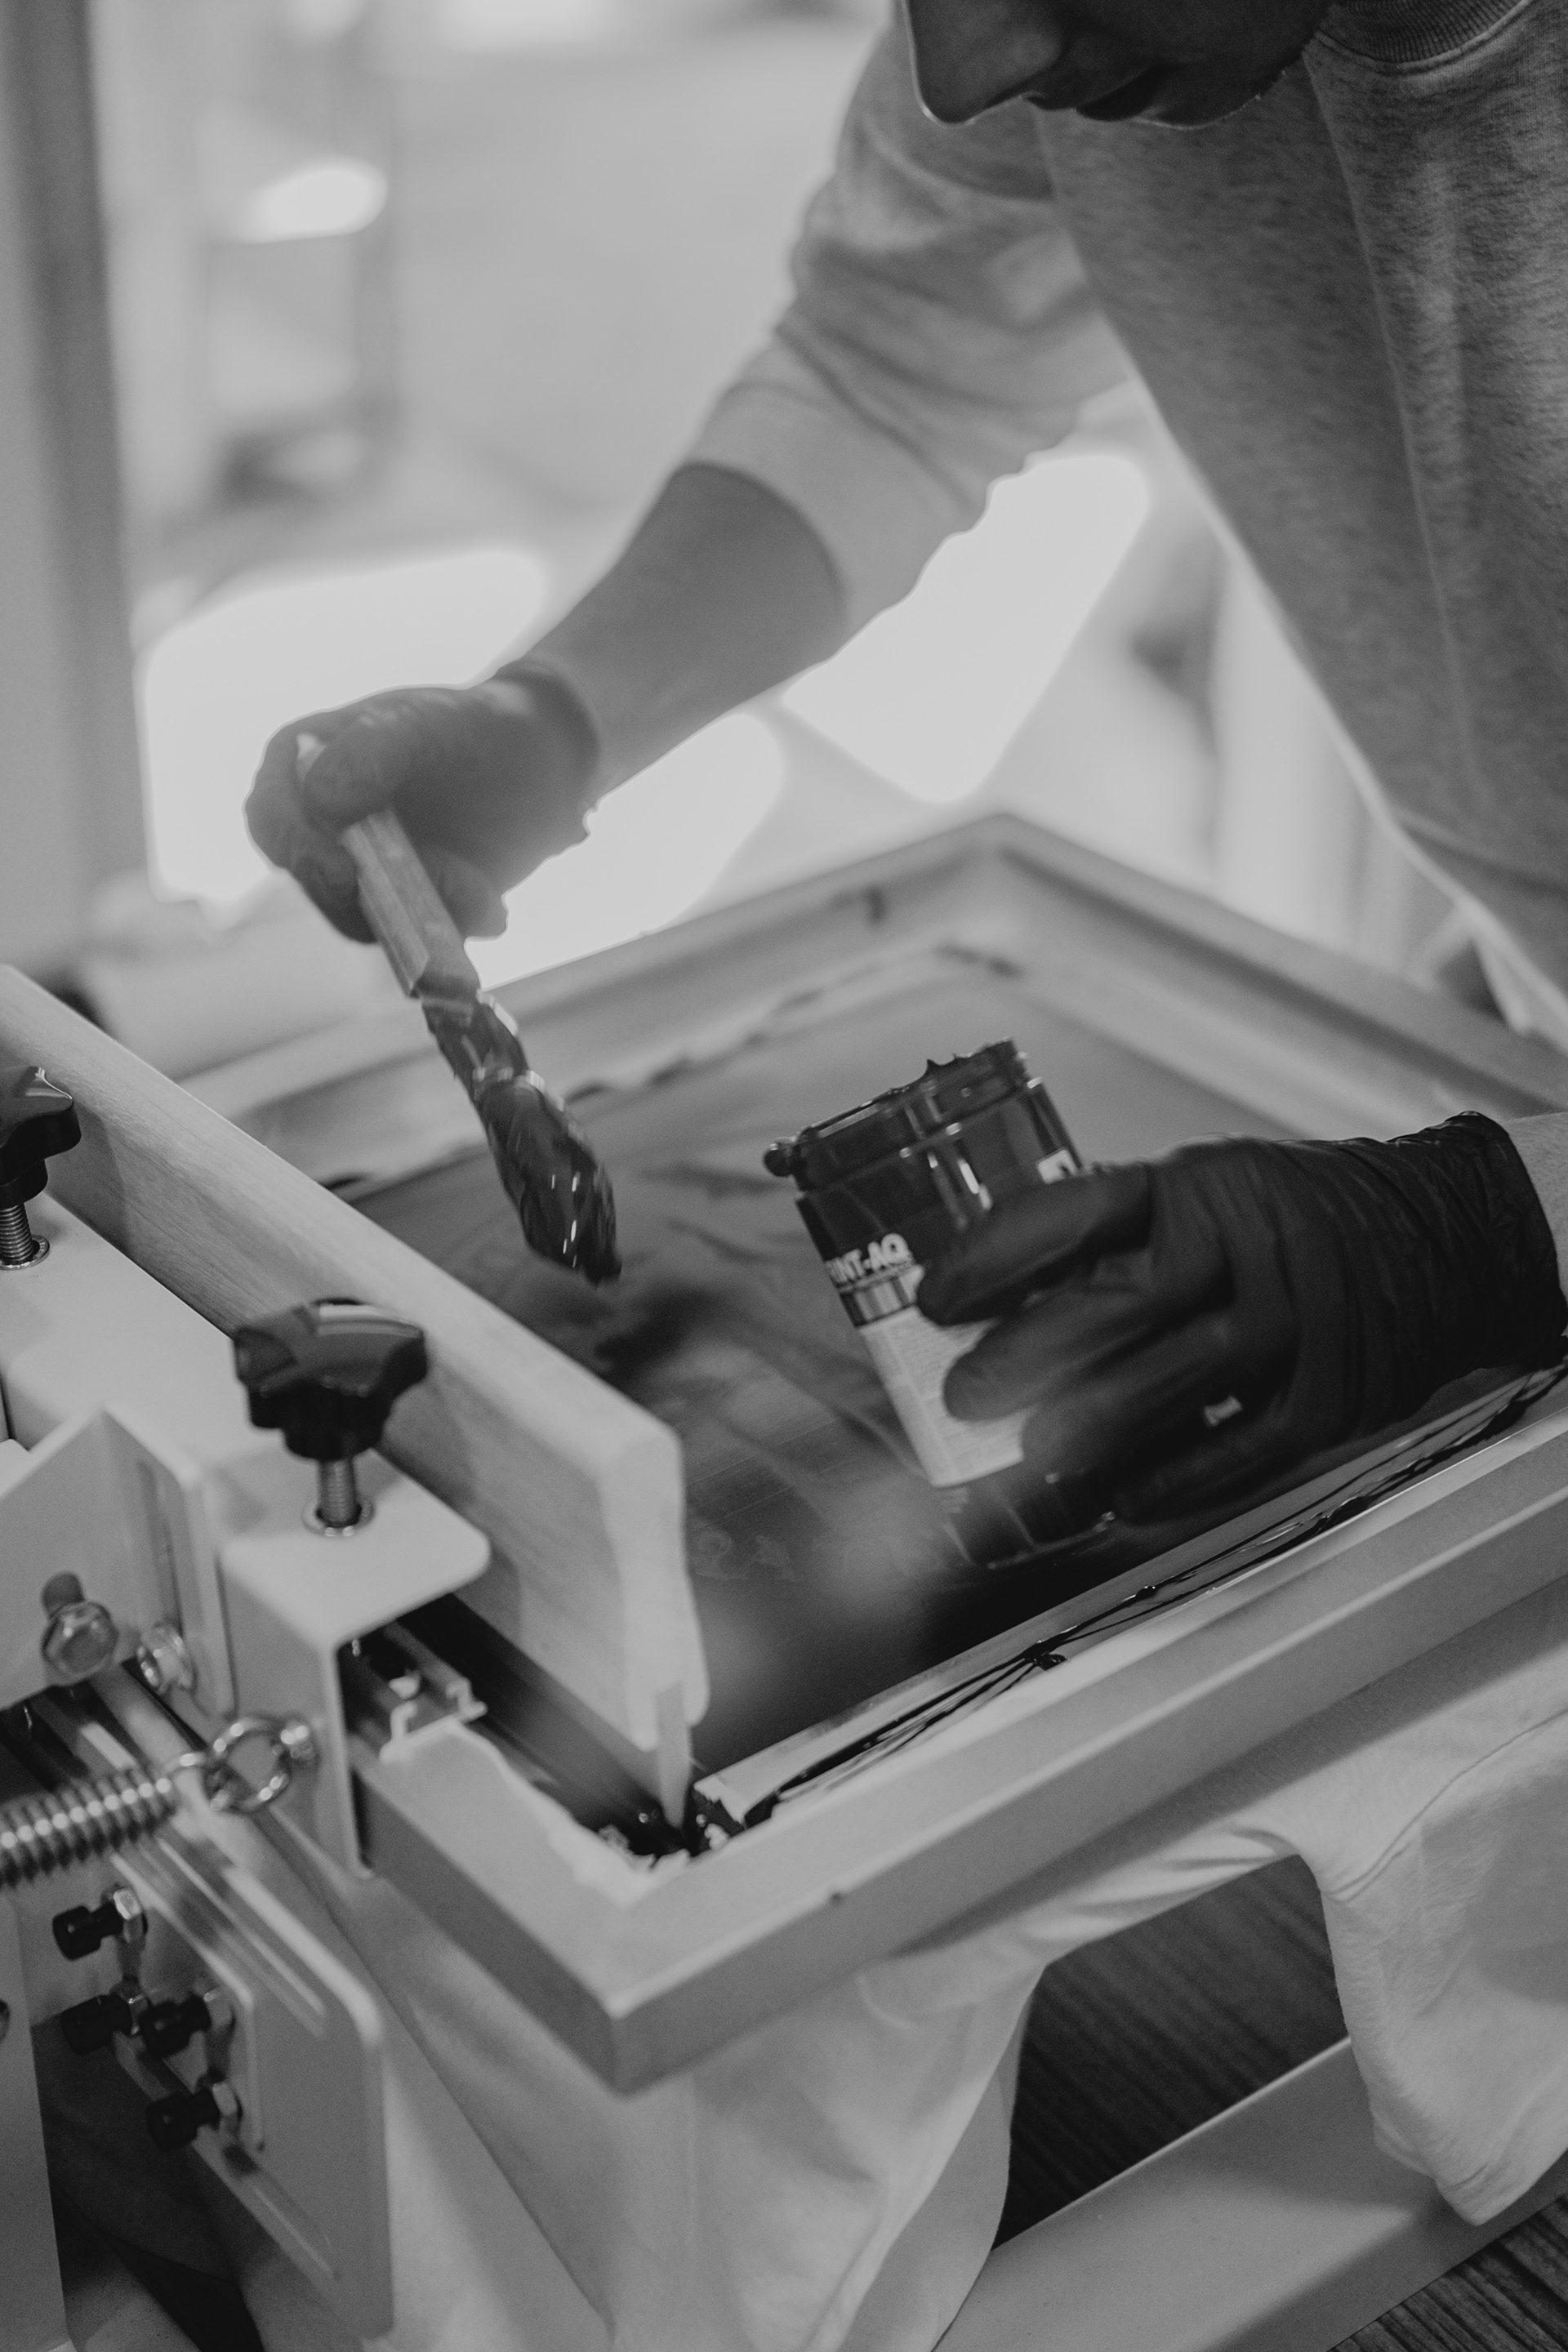
Step 2: The screen is prepared
@Marius first had to prepare the screen before we could actually start to print our desing onto our shirts.
In order to do that the screen is coated with a layer of light-reactive emulsion. The earlier printed foil featuring the desing is then laid onto the emulsion-coated screen, and the whole thin is exposed to a ultra-violet light source. The light hardens the emulsion, so the parts of the screen wich are covered by the design remain in liquid form.
The unhardened emulsion is then carefully rinsed away. this leaves a clear imprint of the design on the screen for the ink to pass through.
Step 3: The item is prepared for print
The screen is then placed on the printing press. The shirt being printed is laid down flat onto the printing board, underneath the screen. We also used hair spray to fix the location of the shirt on the press in order to get an accurate print and to prevent smears and minimize the chance of messing up during the process.
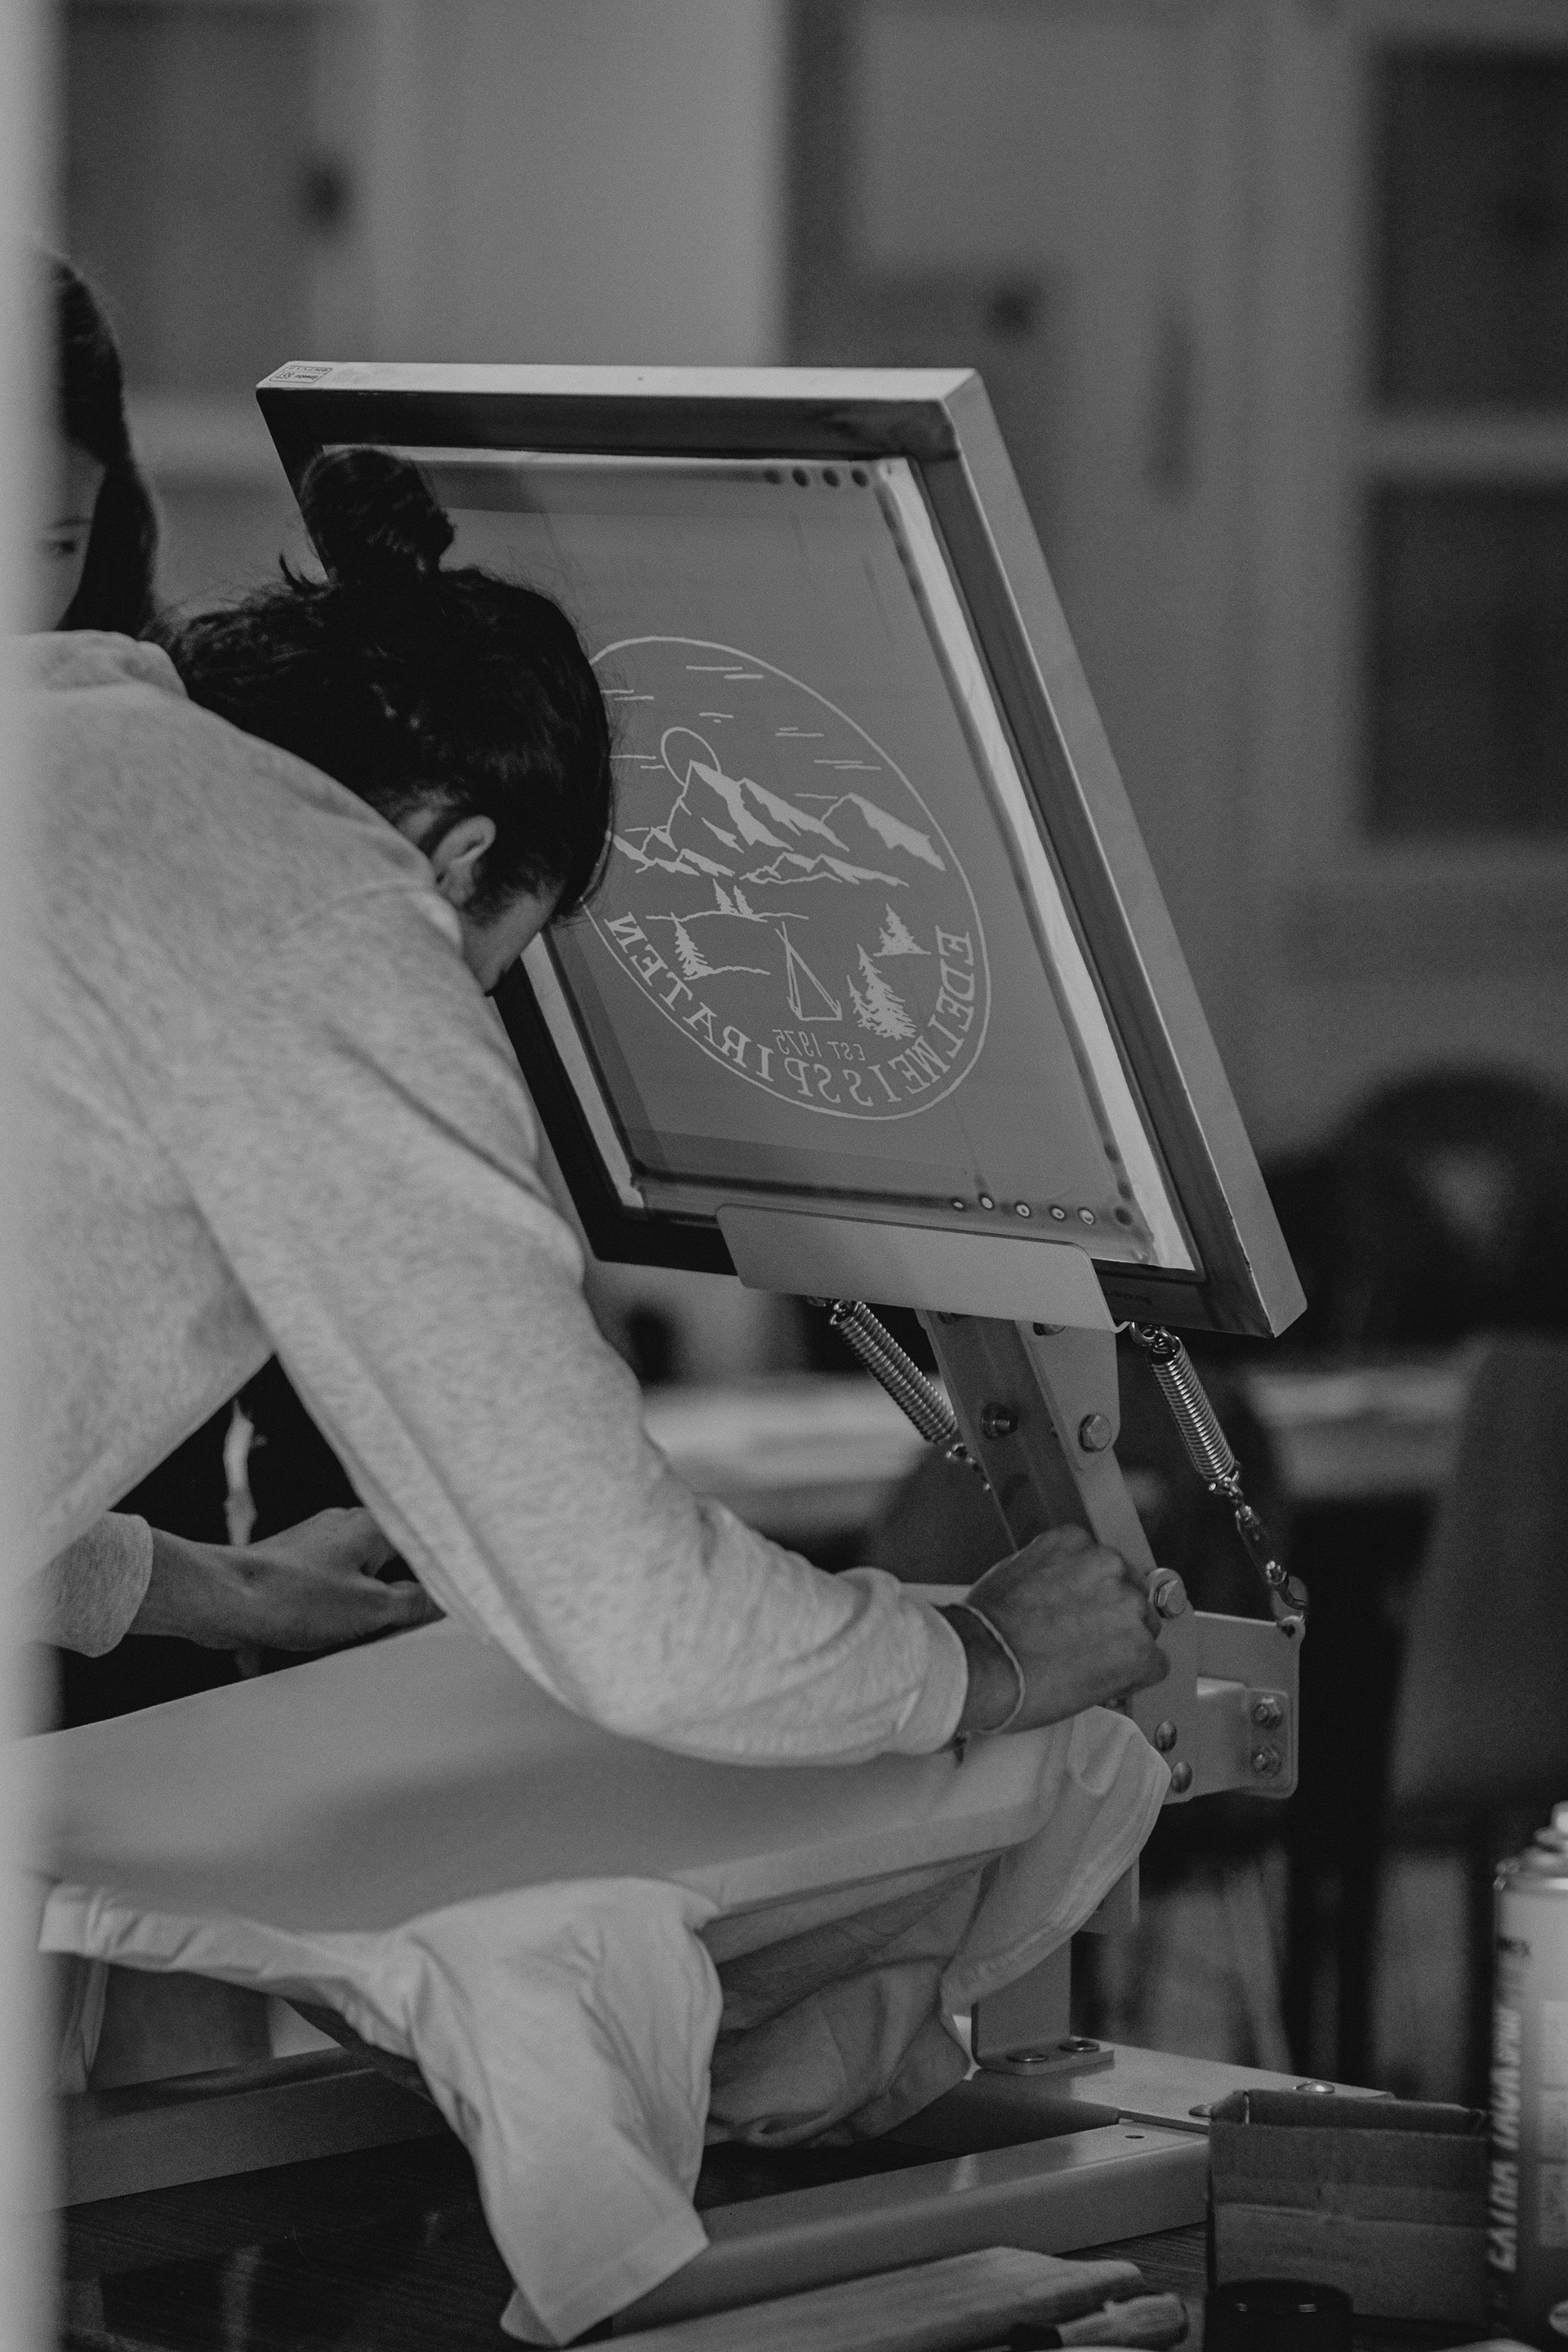
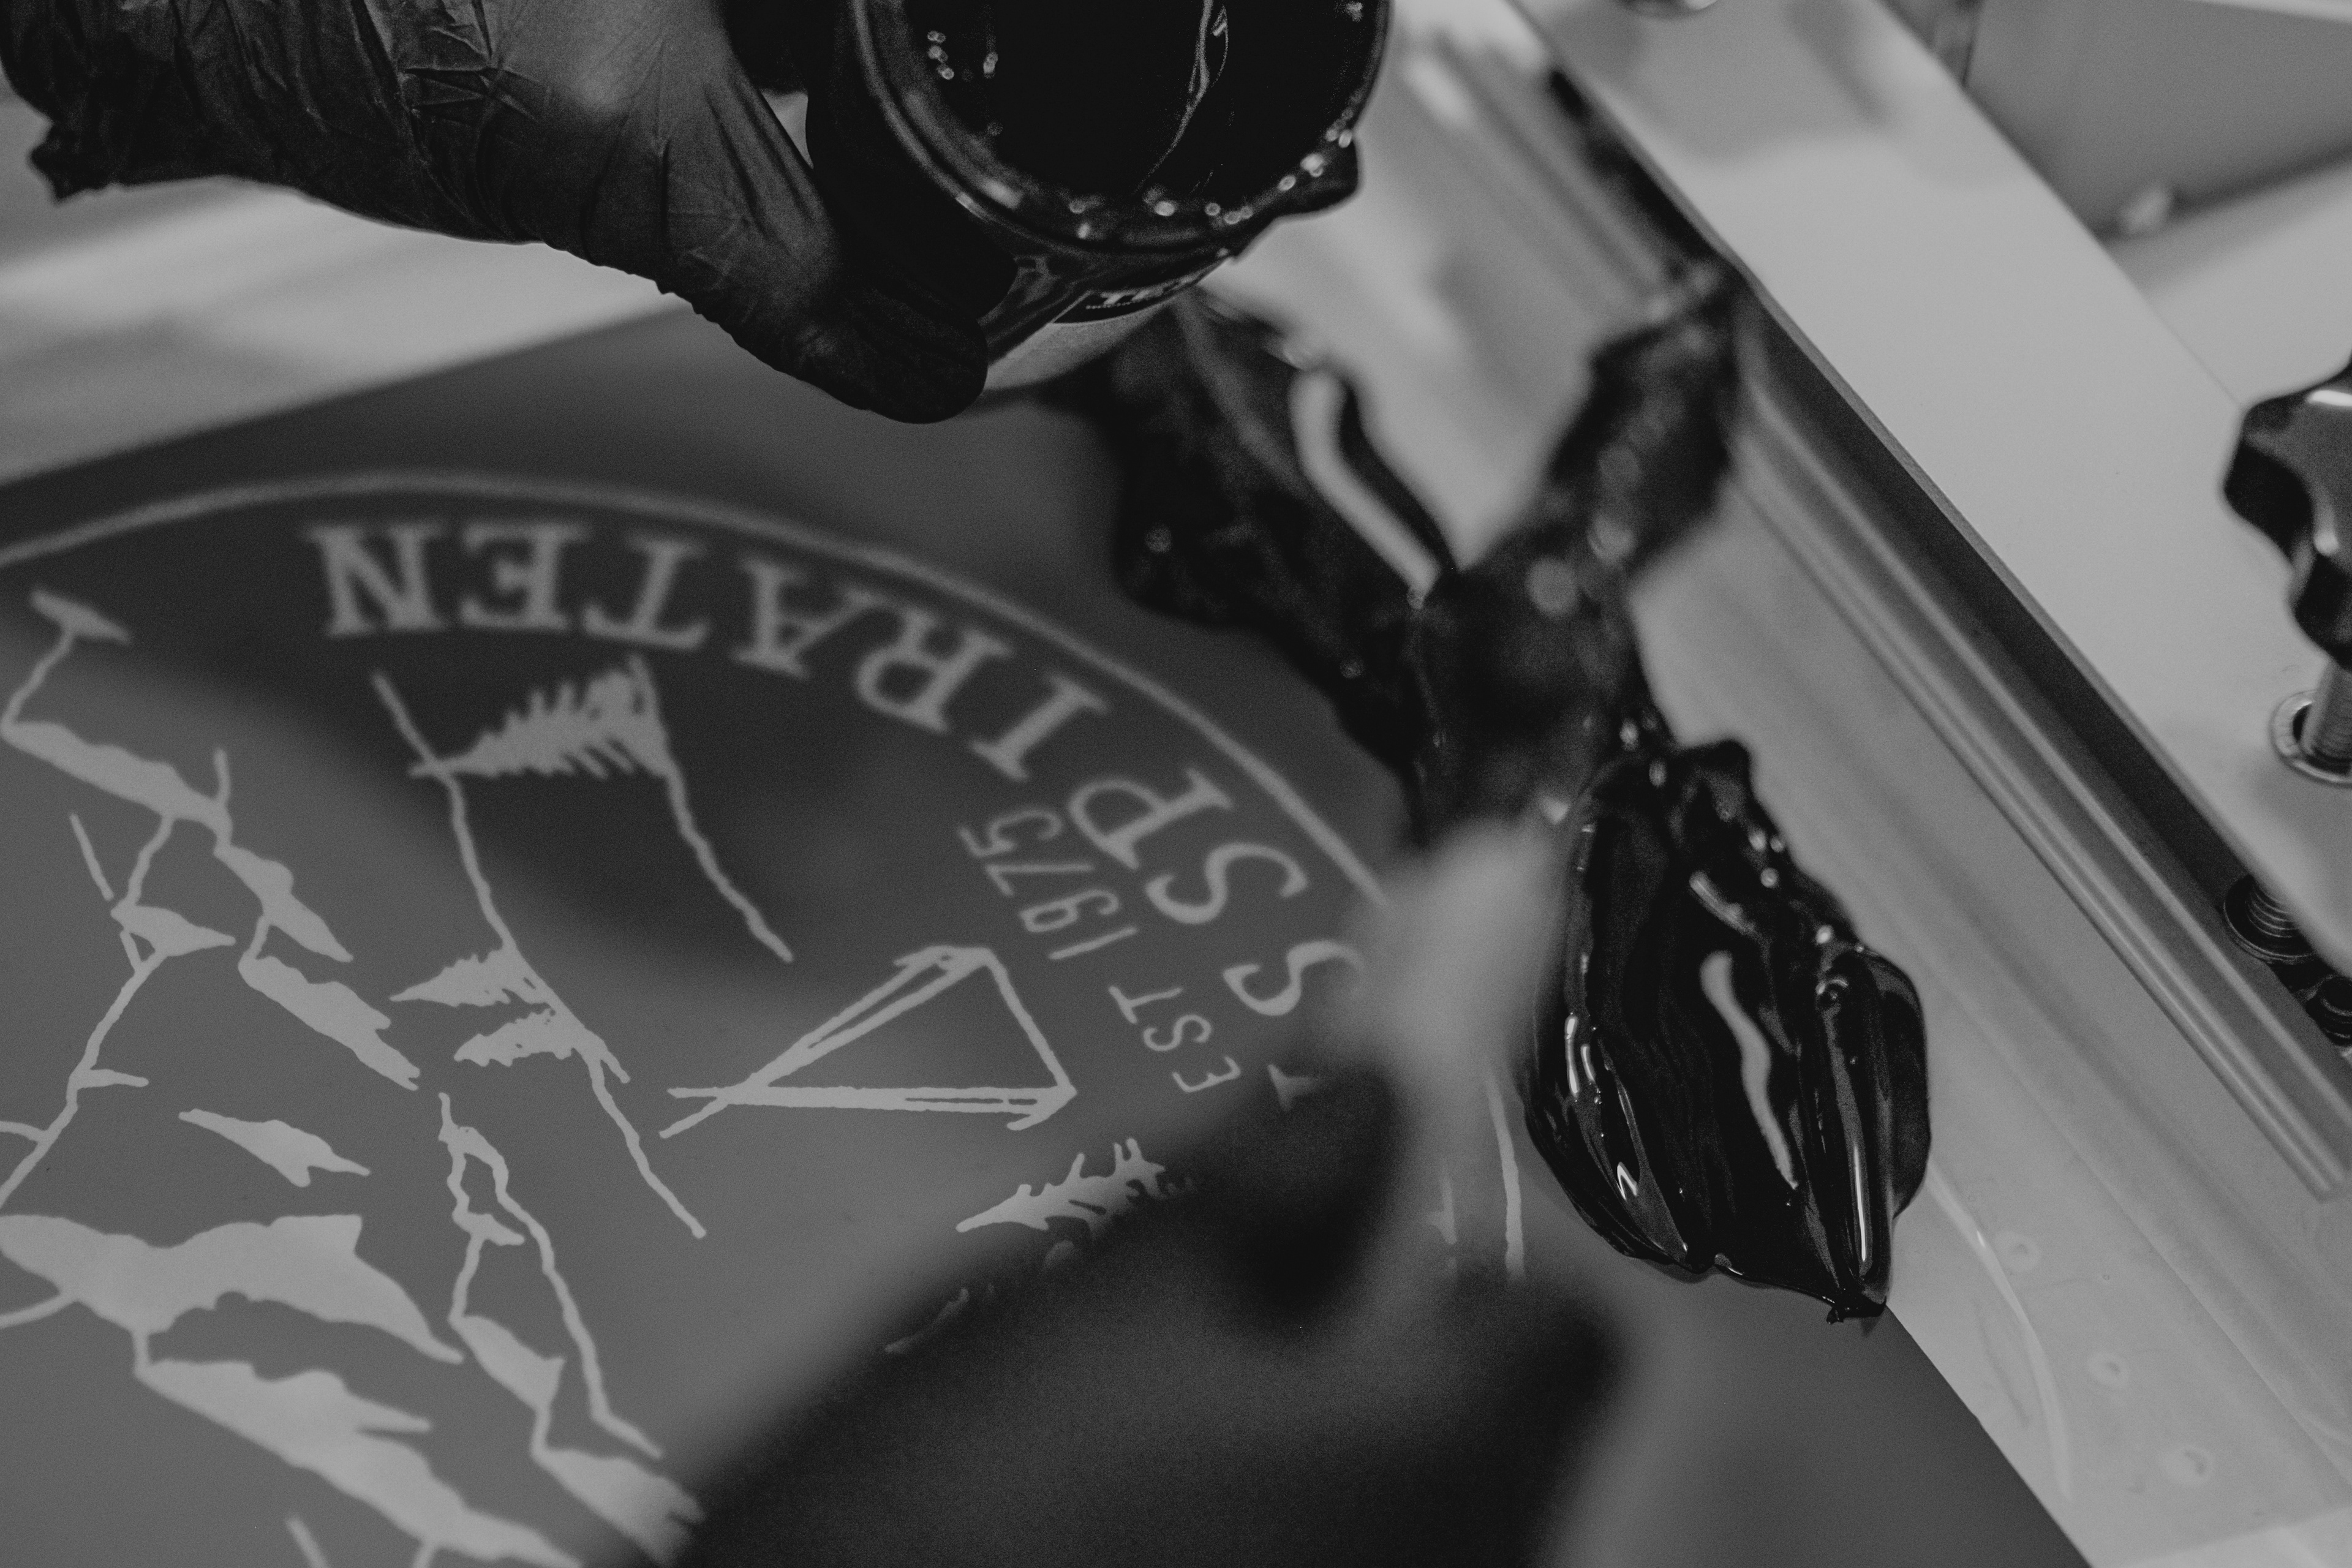
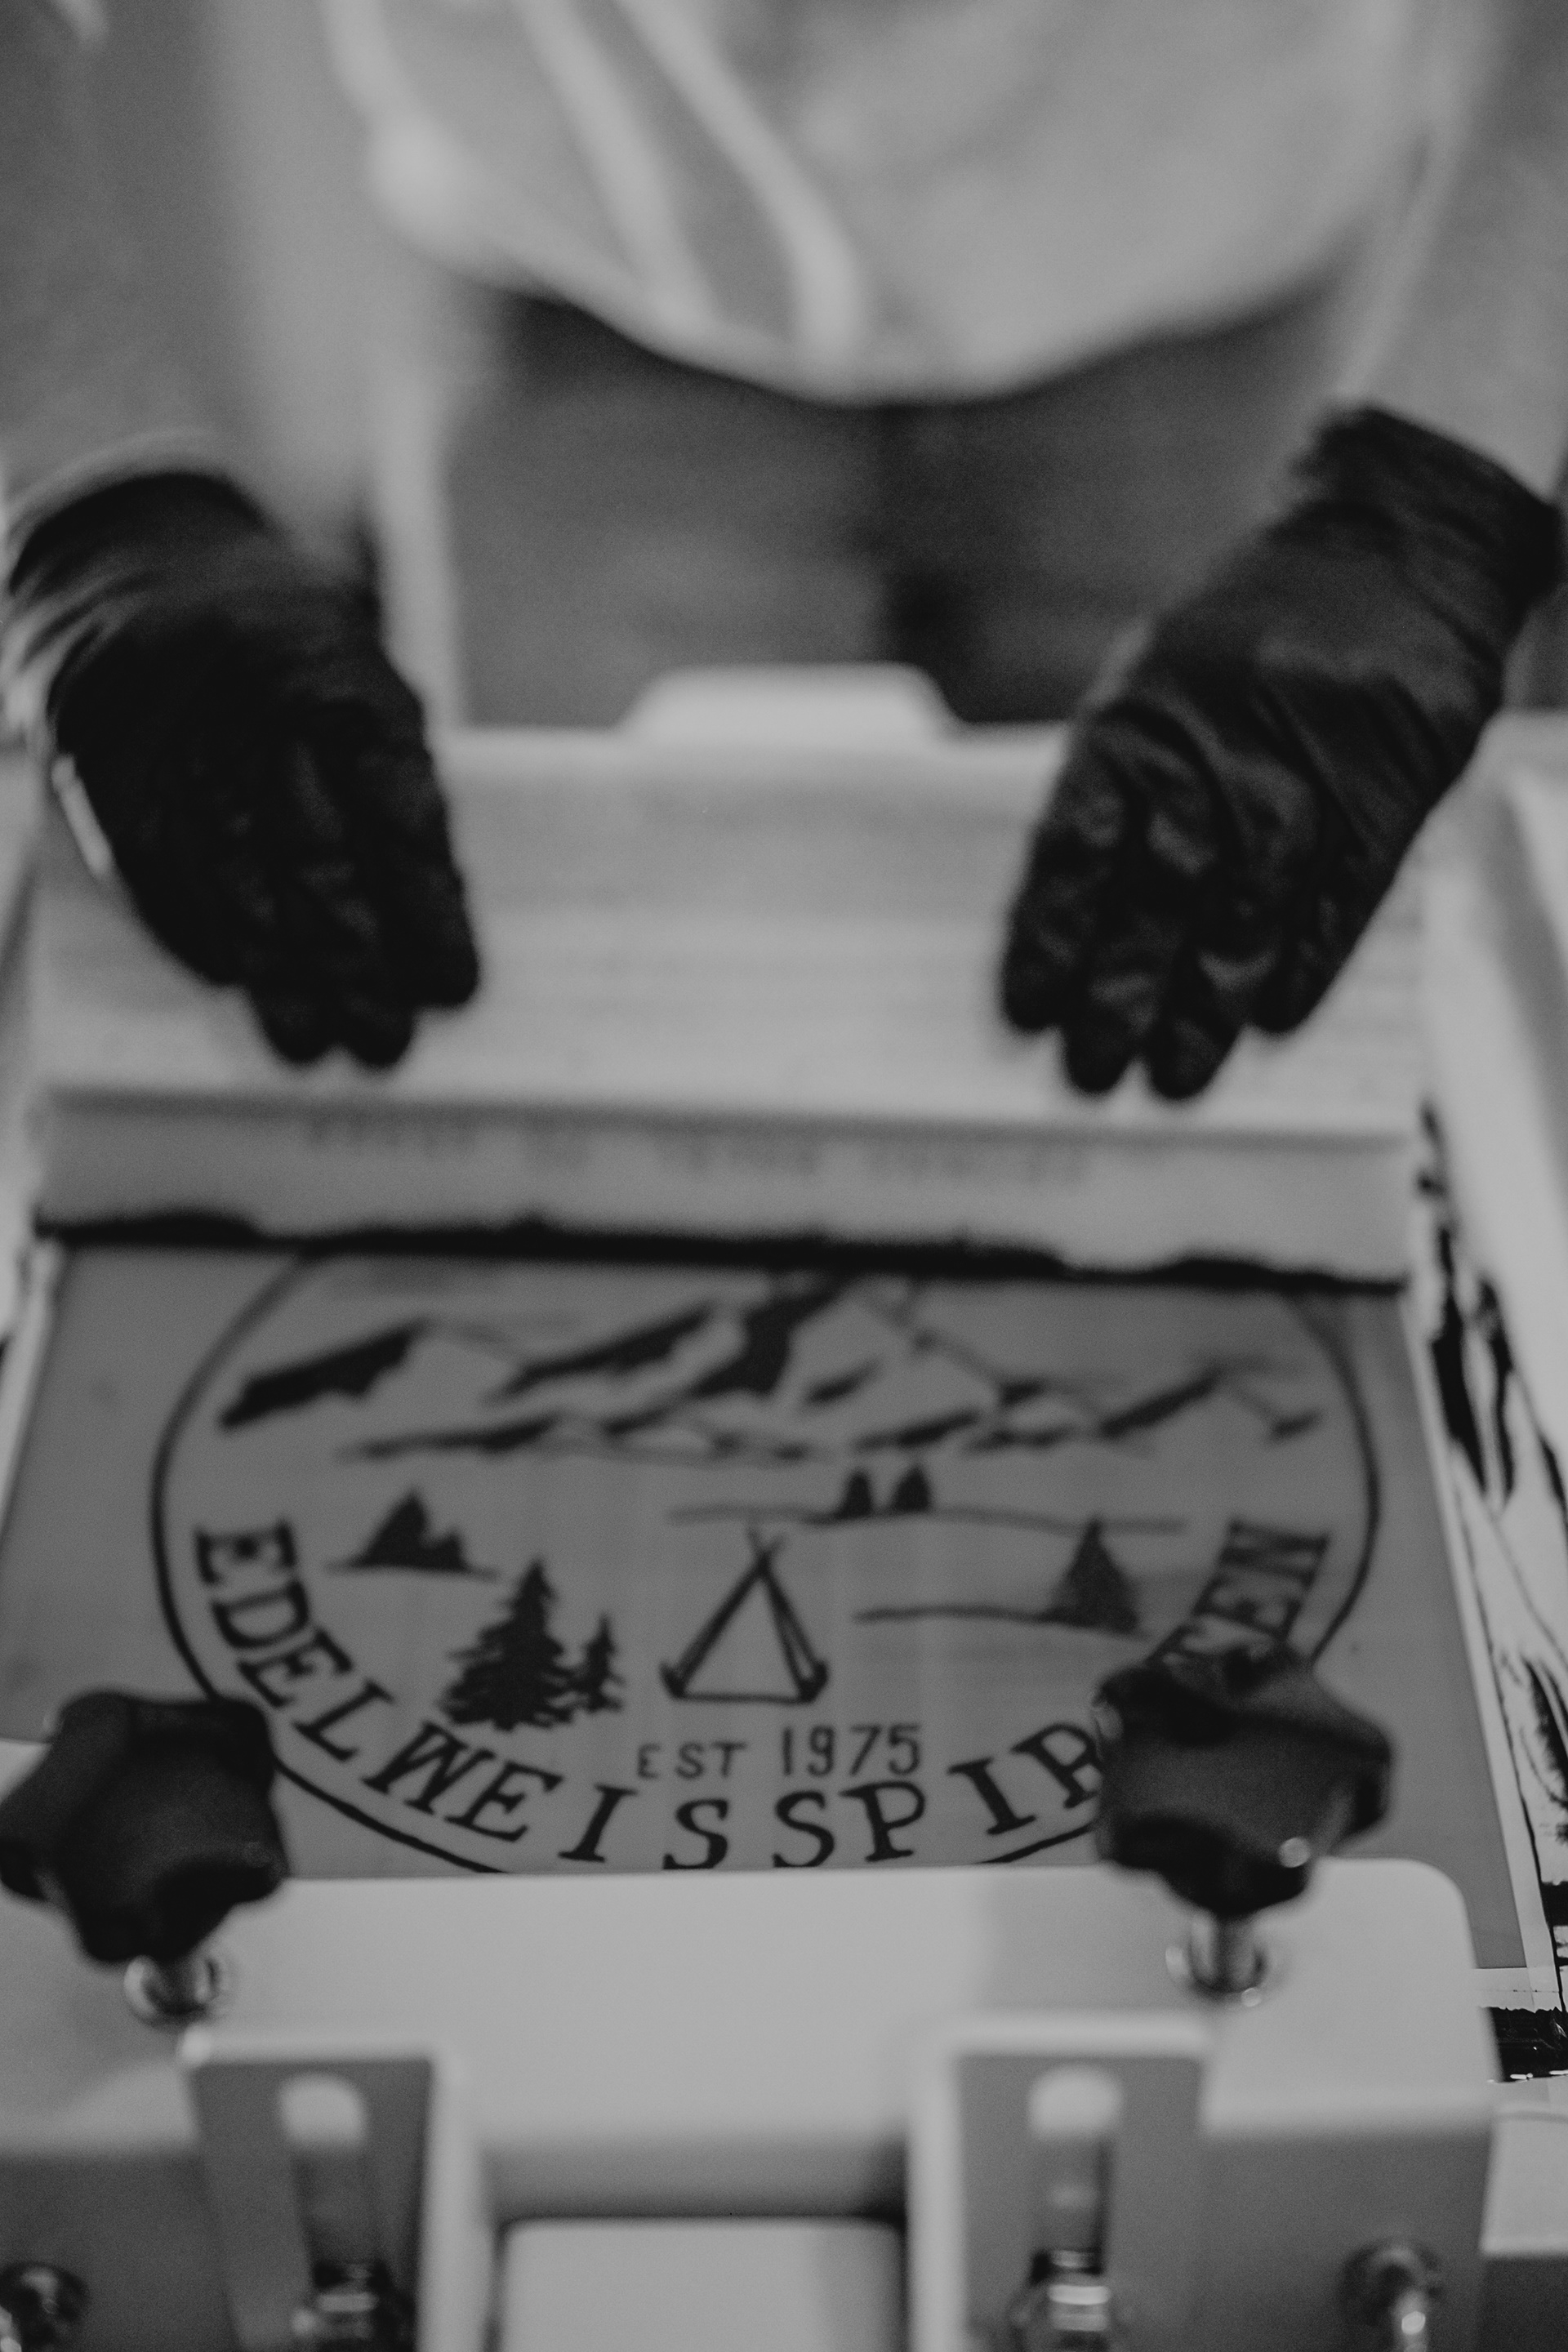
Step 4: The ink is pressed through the screen onto the shirt
The schreen is lowered down onto the printing board. Ink is added to the top end of the screen, and squeegee is used to pull the ink along the full length of the screen.
this presses the ink through the open areas of the stencil, imprinting the design on the product underneath.
Step 5: Producing
After a couple of trials we managed to get the right amount of ink, pressure and speed to print a nice product.
We tried diffrent inks, not only black on white shirts but also multible colored compinations on shirts and on canvas bags aswell.
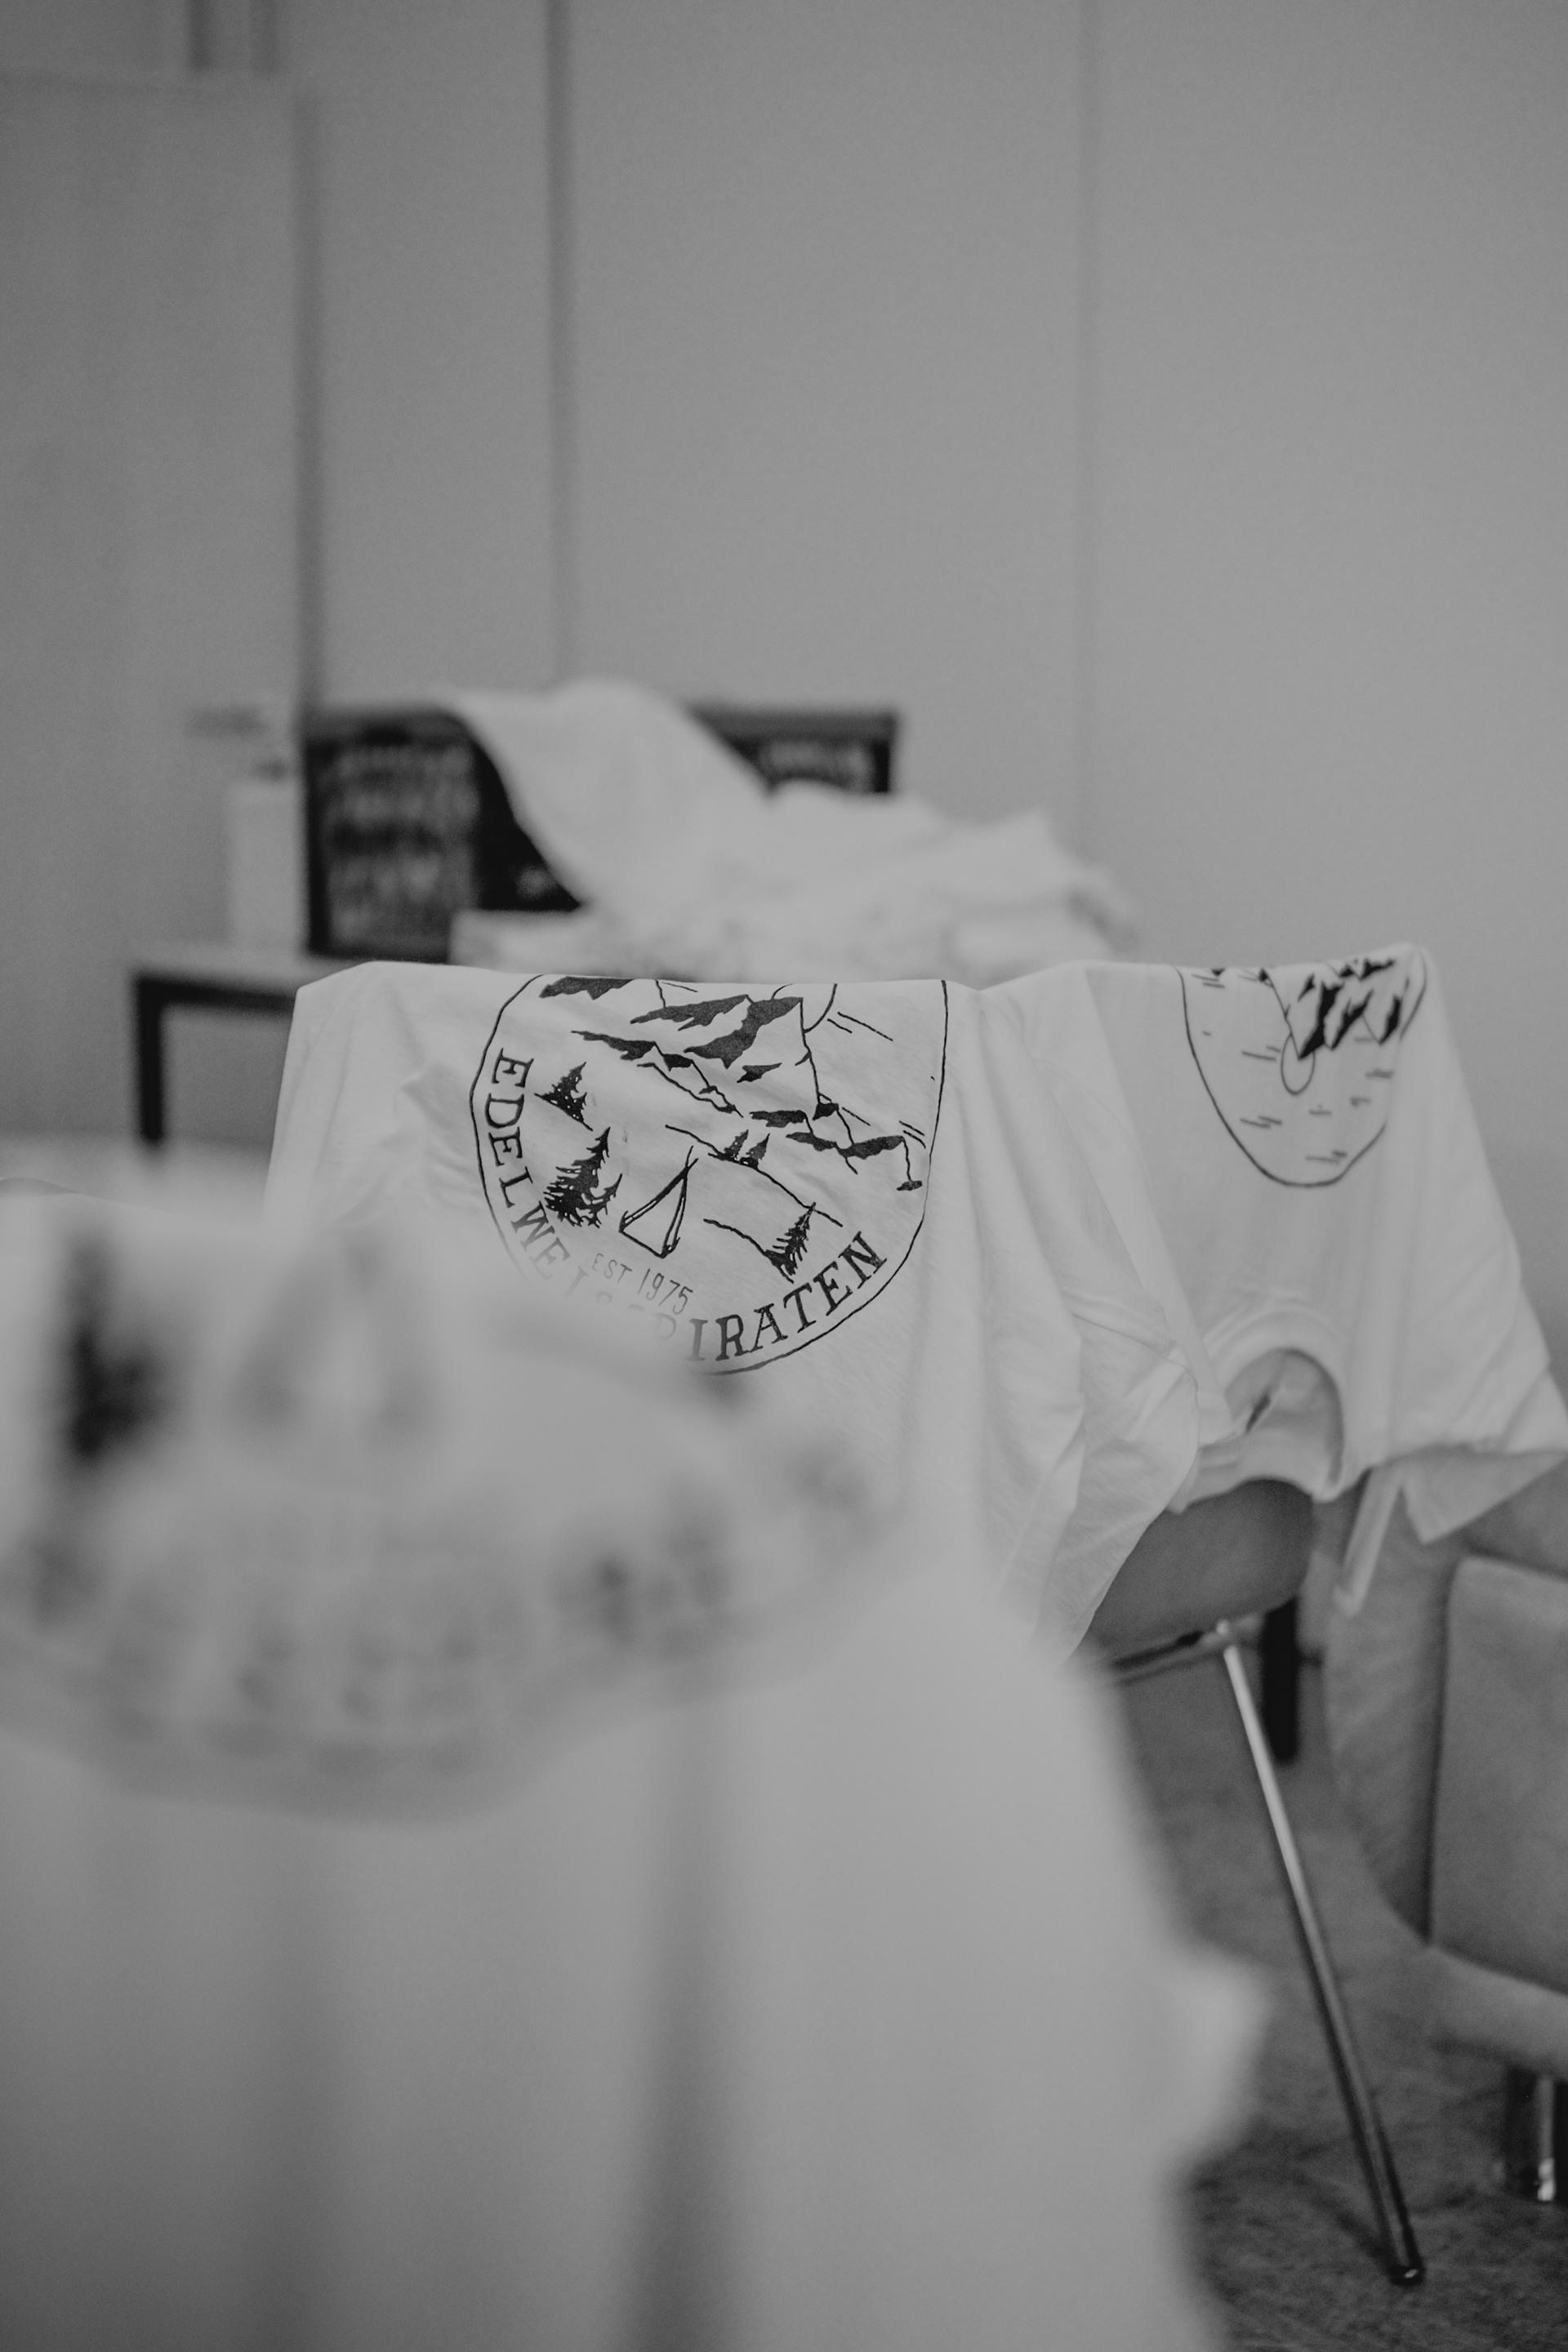
Step 6: The finished product
After printing lots of shirts and trying out many different things to learn more about the process of printing on fabrics ourselves and learning about different techniques, we had a blast producing our first self printed shirts for our scouting group @Edelweisspiraten.